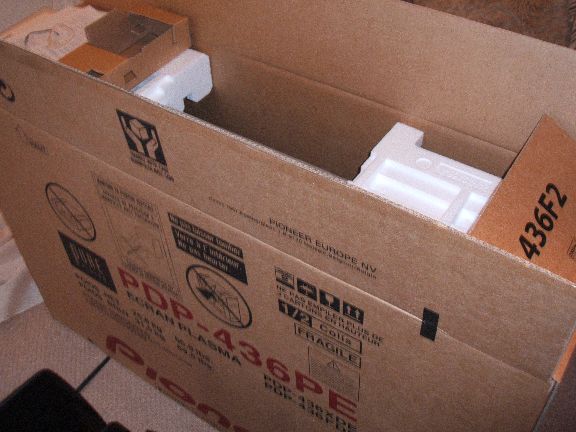
All from the very helpful Practical Hi-Fi in Manchester (Thanks Martin)
Mmmmmmm, lovely box, I'll just stare at it for a while.
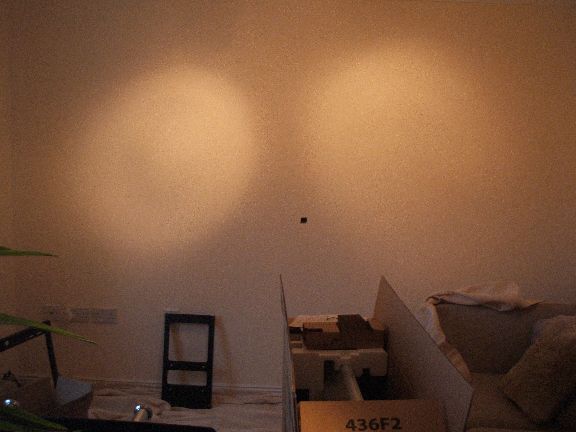
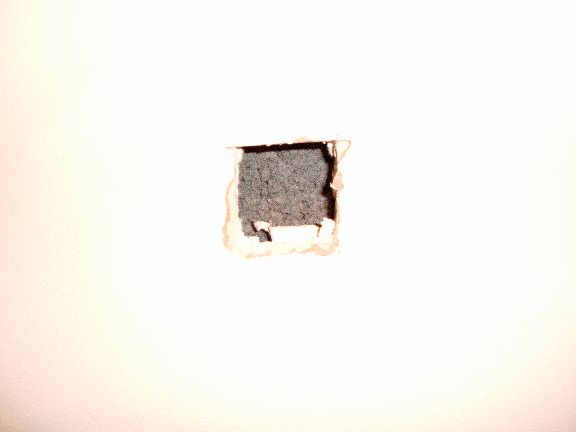
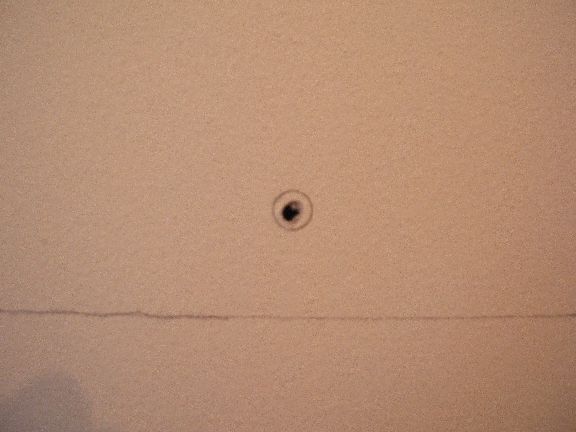
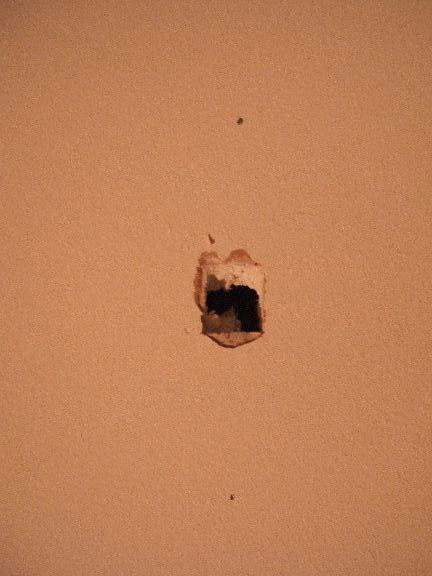
I cut a little square in the middle of the wall to see what gap there was between the concrete block and plasterboard, theres about 20mm which is fine for speaker cable but not for the power or signal cable for tv, so I'm going to have to chase the plaster out.
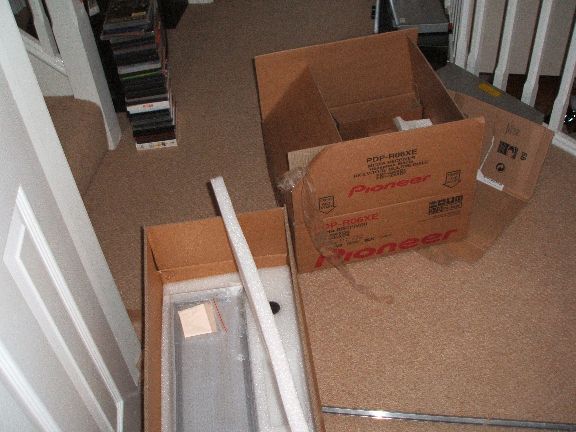
More boxes.
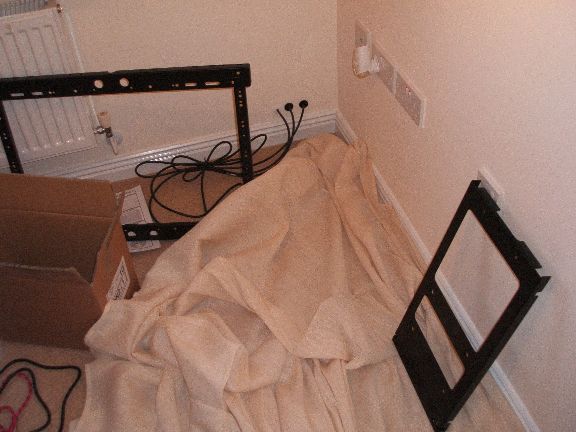
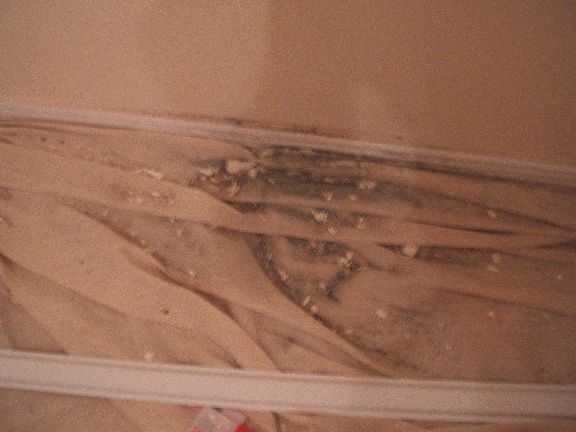
Sheet up, this makes a LOT of mess, also including the mount for the tv.
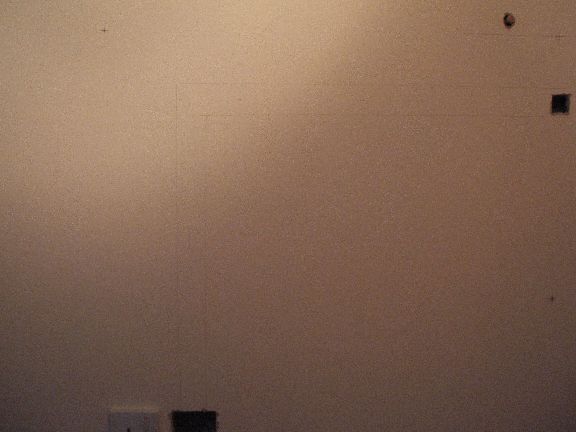
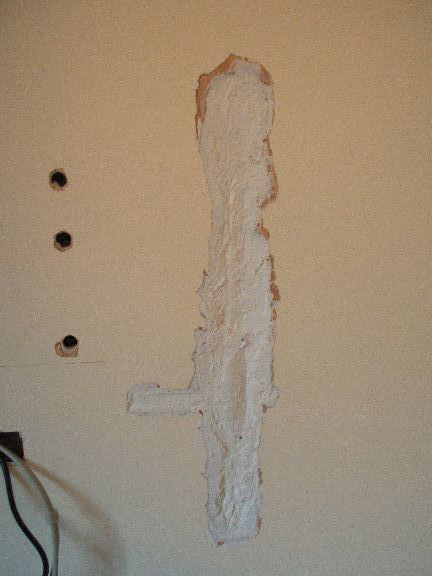
My inspection hole.
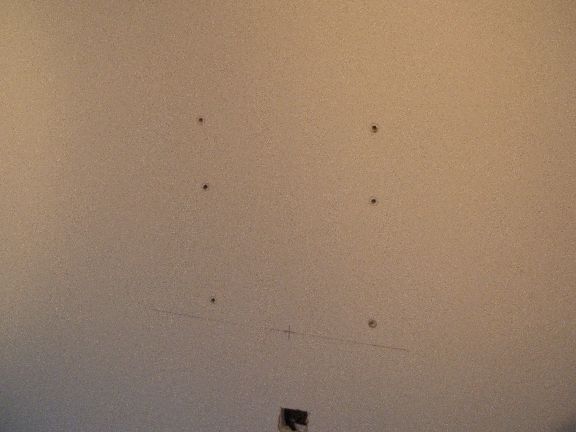
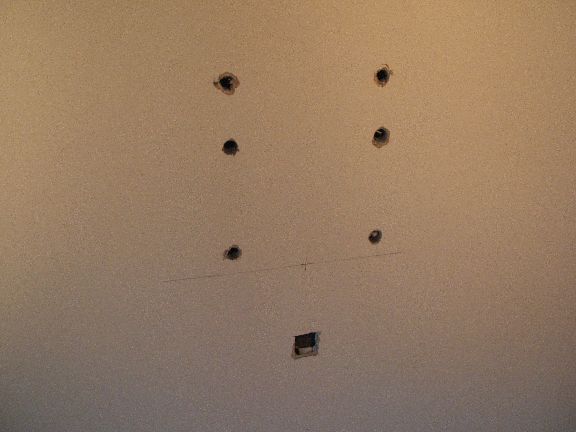
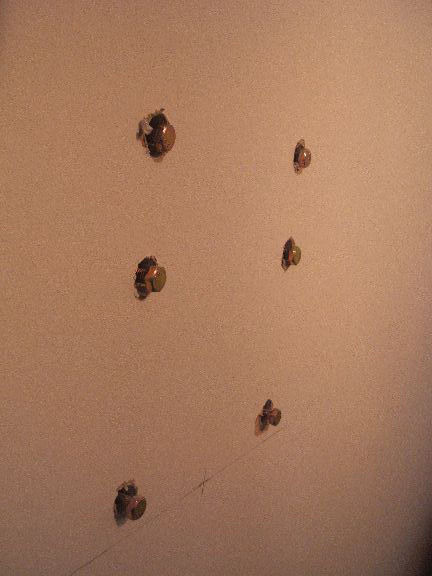
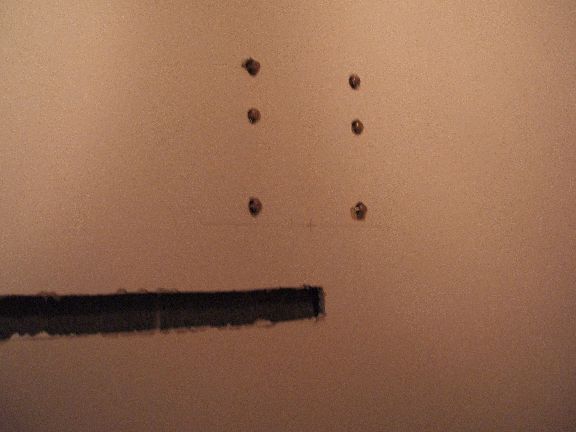
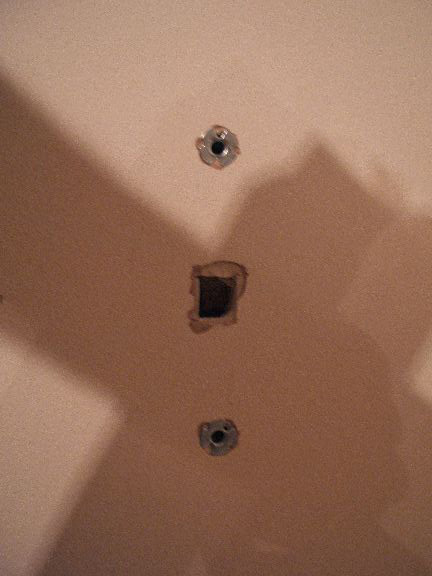
The line below these 6 holes is the centre line of the wall, vertically and horizontally. I wanted my tv to be dead centre to the wall, the speakers all round the room will share the same centre line. I marked the 6 holes out from the wall mount.
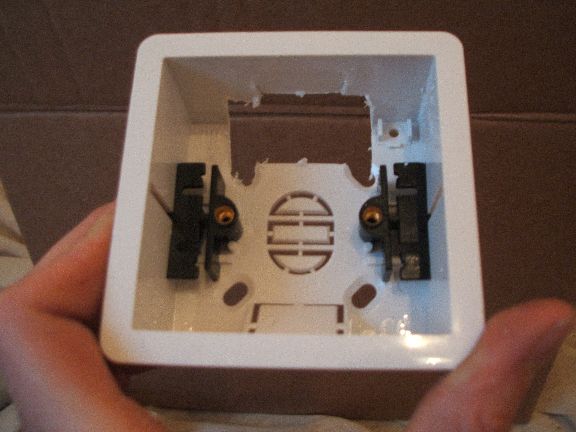
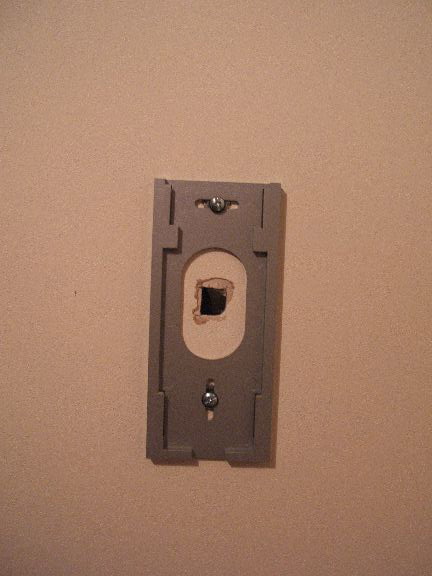
Next to the power point on my wall I cut out a sqaure for a PVC dry wall back box for my cables to come out of, i used a stanley knife for neatness, helped with a bit of chiseling.
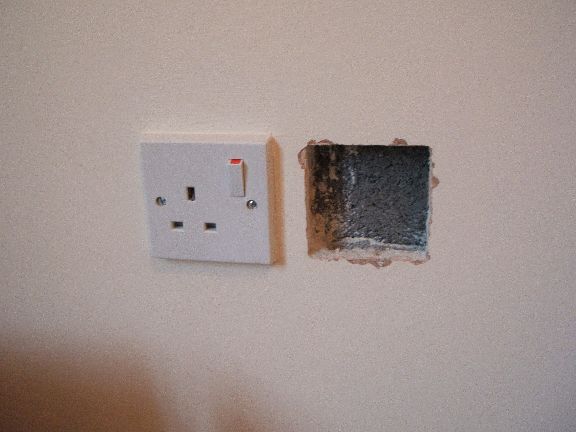
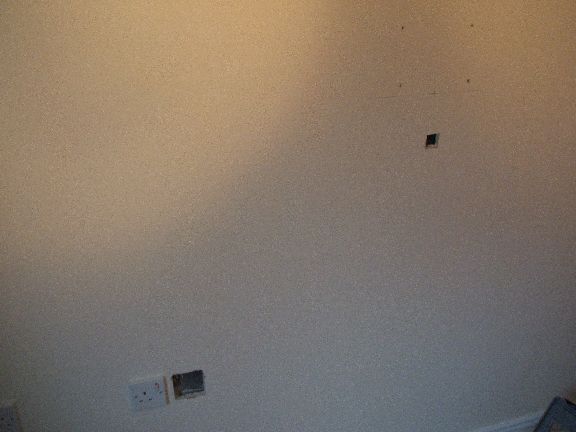
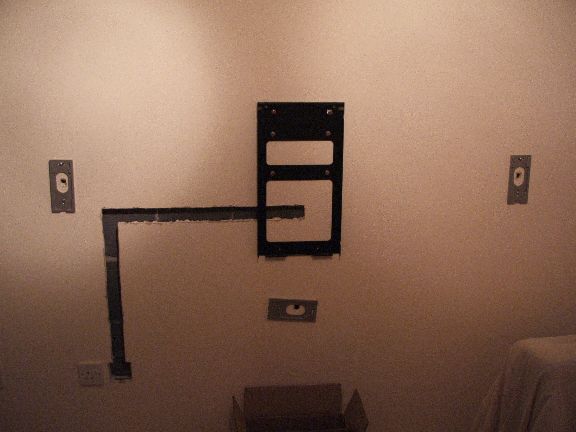
That is the relationship from cable outlet to tv.
The mounting holes.
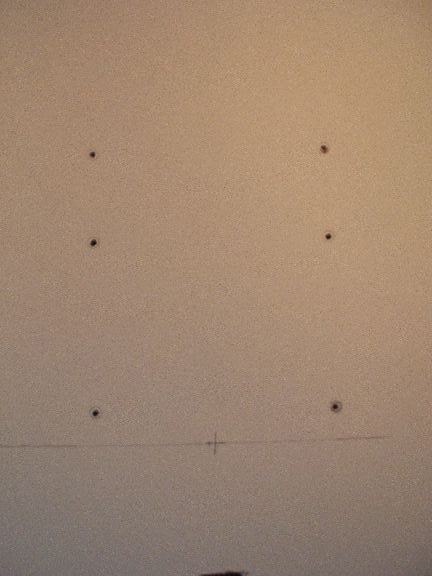
I marked out the hole using a pensil through the hole in the bracket, then drilled the centre of the hole using a very narrow masonary bit, to leave a mark on the concrete behind (once I drill the big hole, I'll lose the accuracy of the centre).
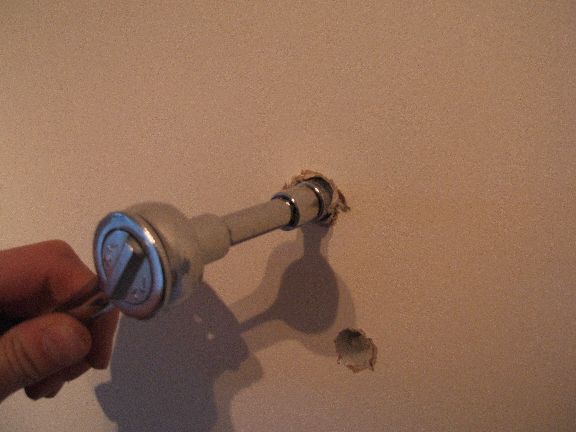
I now drilled into the concrete using the 14mm bit, letting the bit start resting in the little hole left by the small bit before.
Once the holes were done, I widened the plaster holes out using the bit to allow my socket spanner in to tighten up the rawl bolts.
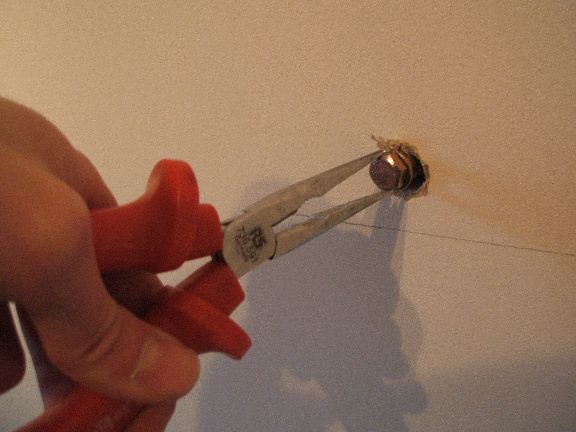
I put the bolts in using needle nose pliers.
Tighten them up using socket spanner to let them bite, then back off the bolt to be proud of the surface.
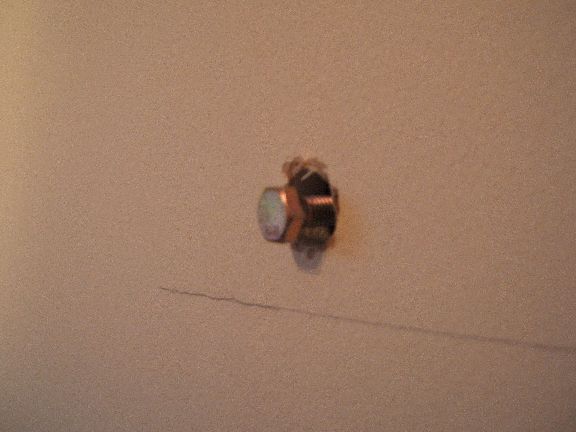
Used these rawlbolts.

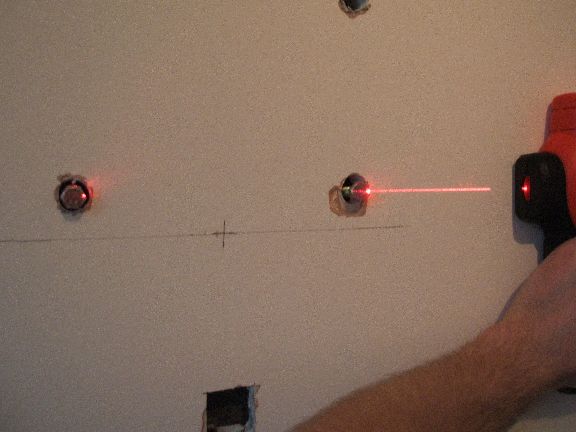
Check they are level using trusty laser level (my best friend through this story)
Ready to rock!
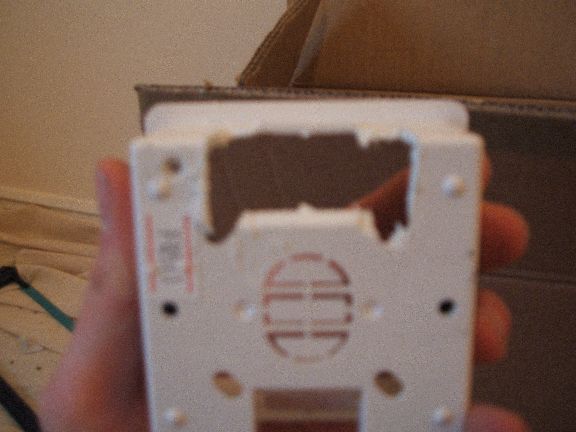
I cut the top out of a B&Q PVC backbox to allow the big data and video cables through for plasma.
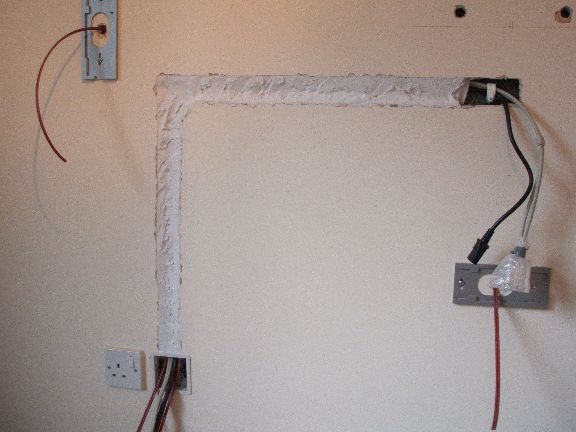
Mark out the chase.
Chase it out! I cut it first with stanley knife, then used chisel to "persuade it out"
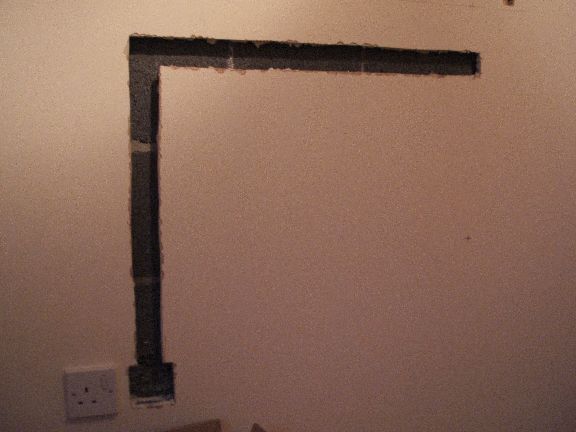
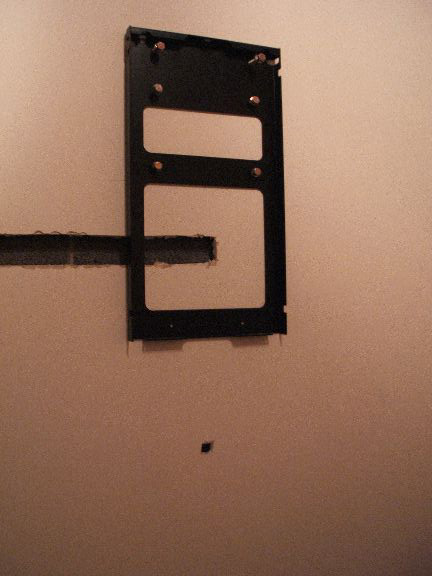
Chase ends below mounting bolts which coincides with hole in bracket.
Using the lovely templates that come with the speakers (FPM 4s) I marked out the holes needed for mounting, and also the hole for the cable.
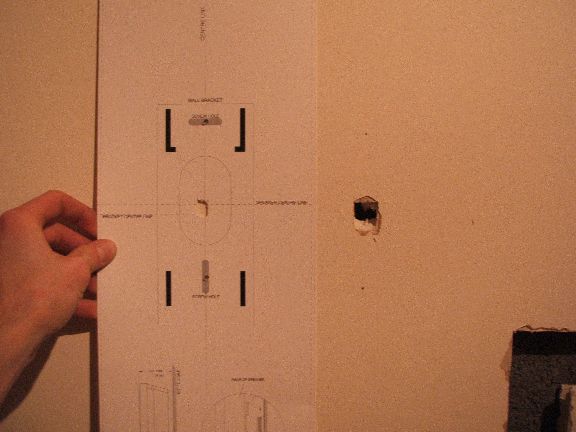
The mounting holes and cable hole.
The bracket up just to check.
I used B&Q heavy weight dry wall fixings for the speakers.
The B&W bracket.
The mess so far!
The brackets all up!!!
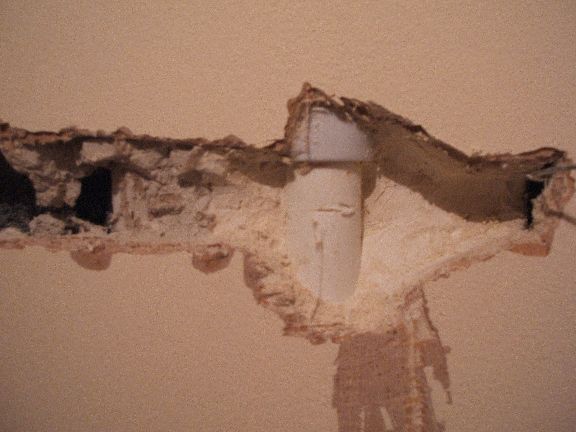
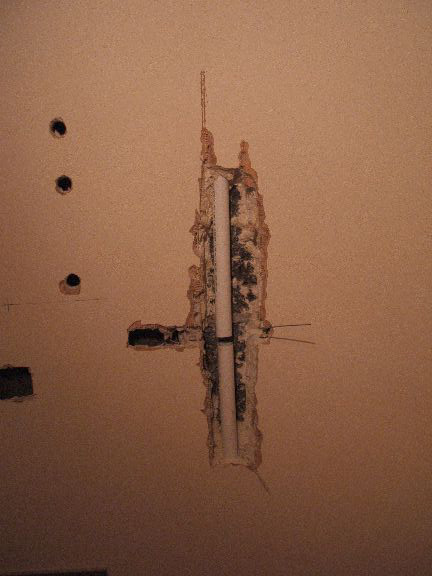
I tried to get a speaker cable from the tv backet to the right speaker, but the fish wire i was using wouldnt get past a cirtain point, I checked using the stud finder and it showed something there, i assumed it was just a dab of plaster, so i was going to chisel it out then fill it afterwards. I then found out it was a pipe, after hitting it with the chisel. Water all over my lovely sofa.
The wire I used to pull the speaker cables through the wall space (quite a skill)
The wire through the speaker brackets.
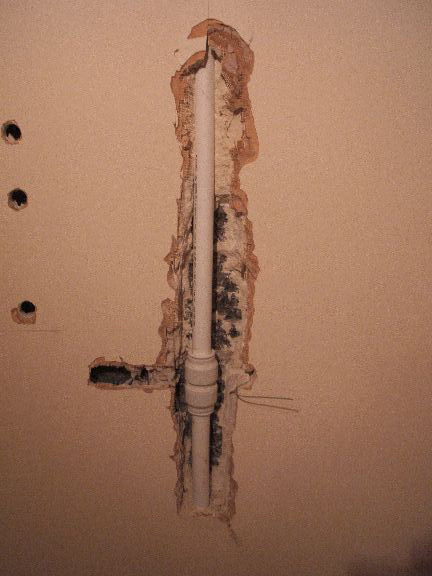
This is all the space I needed to get cable past...
...This is the space needed to re-join the pipes. OUCH.
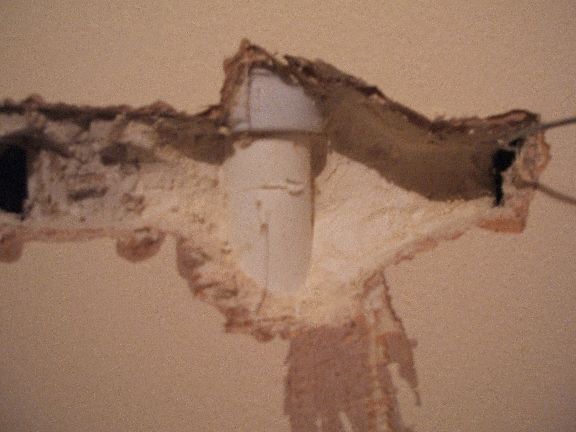
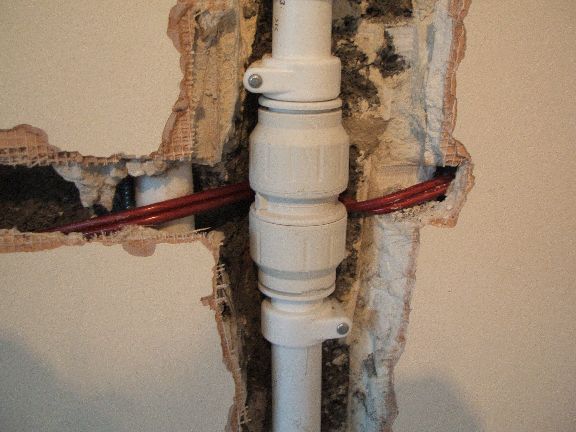
One friendly plumber and 100 quid later (it was late friday night) and it's fixed. I had to chase out the concrete behind the new join because otherwise it would be proud of the surface.
I then threaded the speaker cable behind the pipe join.
Cable clip for where cables come out behind screen, to stop pulling at the plaster.
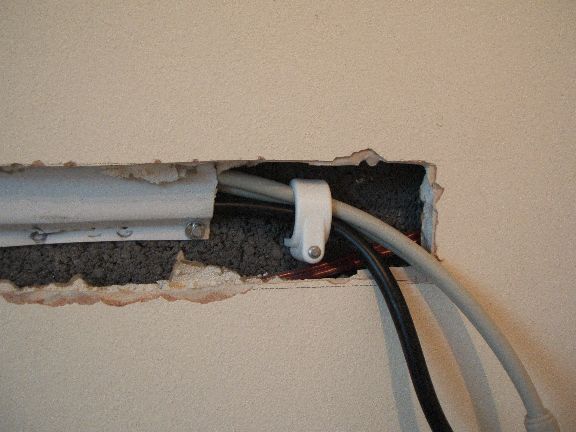
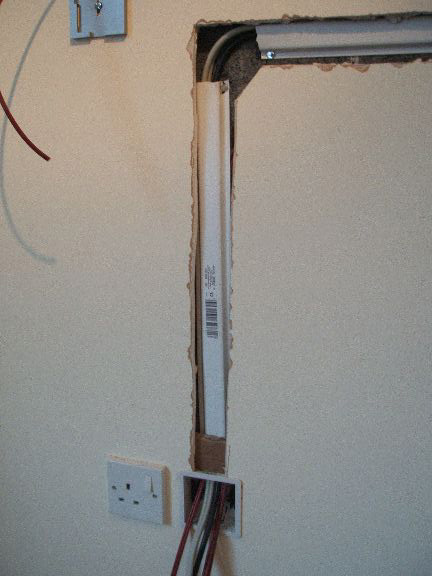
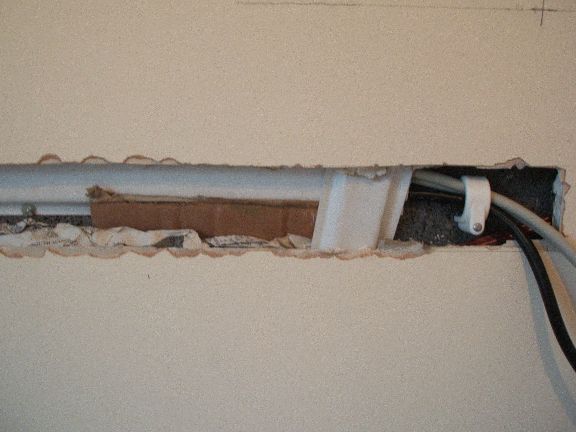
Capping covering the power and data cables.
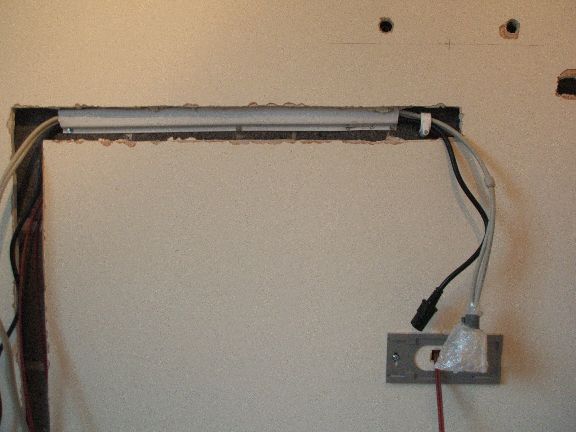
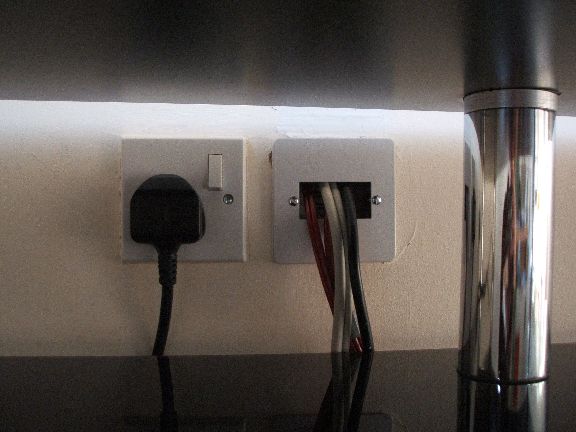
All the way down to the box, where the power, data, and three speaker cables come out. I threaded them all through the front plate (see later) and then the back box first, then put them up on the wall, the plug wont fit through either, so don't forget!!
I then covered the capping in cardboard to allow a nice surface to fill on.
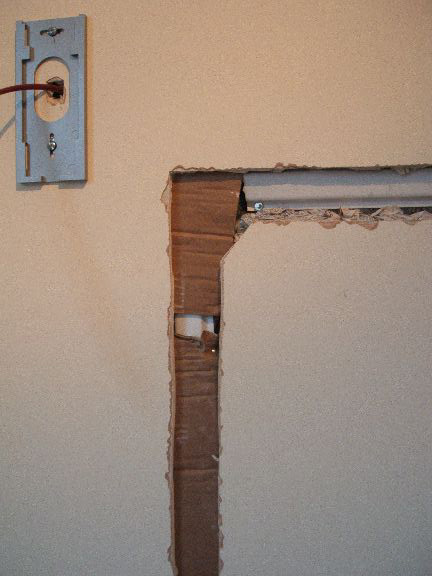
First lot of filler, I wish I'd used proper plaster now, Pollyfiller isnt ideal for big gaps like this.
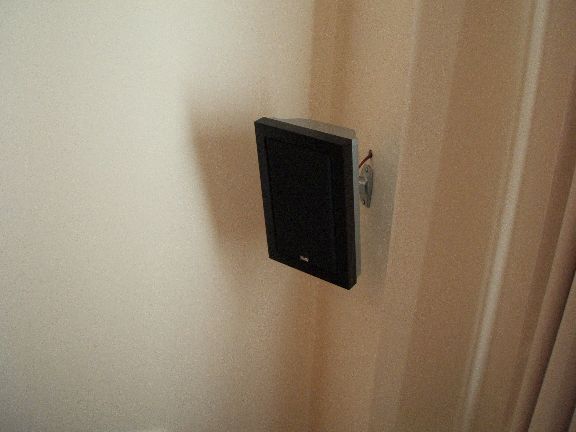
The OmniMount 10 for the rear speakers (FPM2) mounted using the same heavyweight drywall fixings, don't use the ones that come with the mount, they're crap.
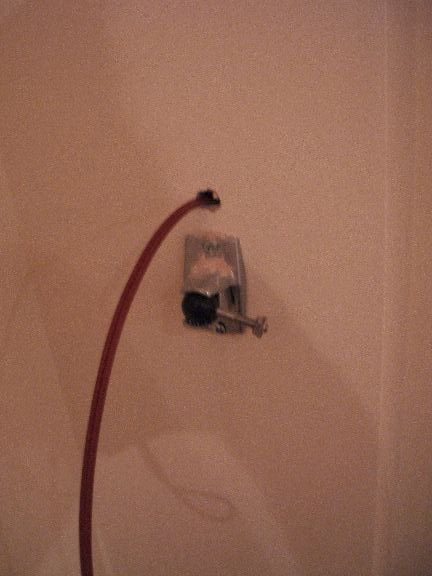
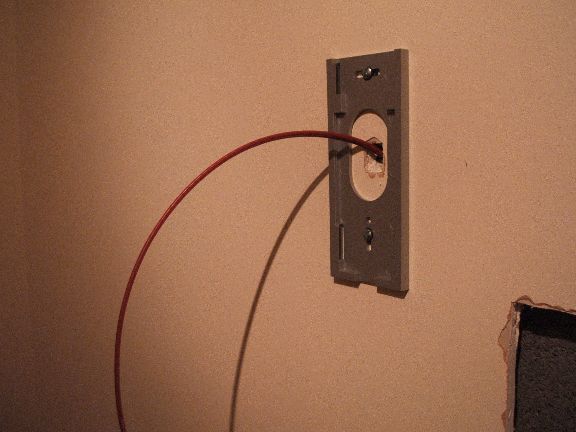
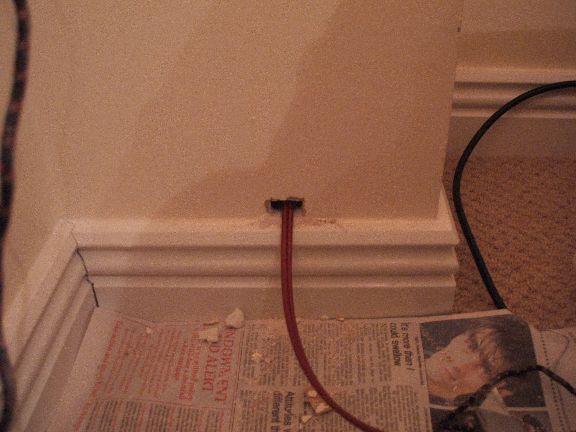
Where the cable comes out the bottom of the wall.
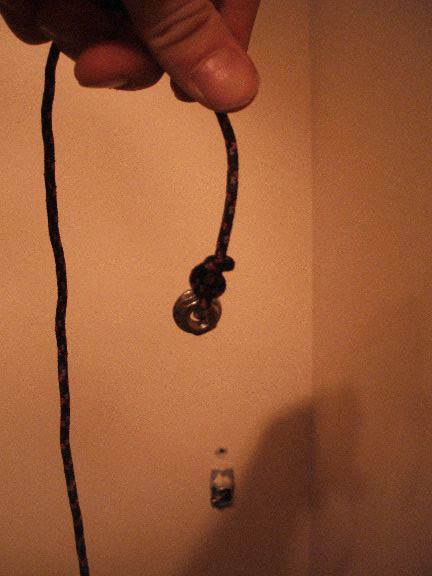
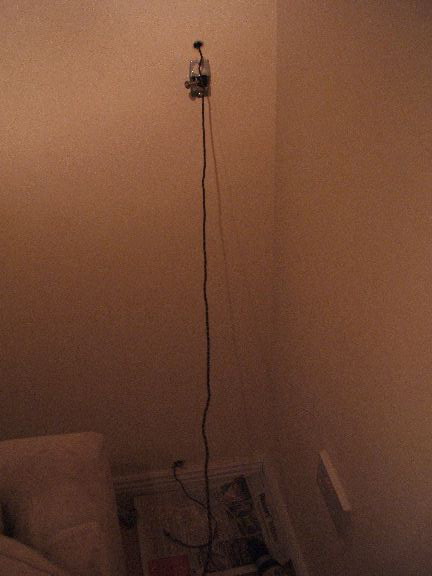
My little device to drop down the wall cavity to bring up the speaker cable.
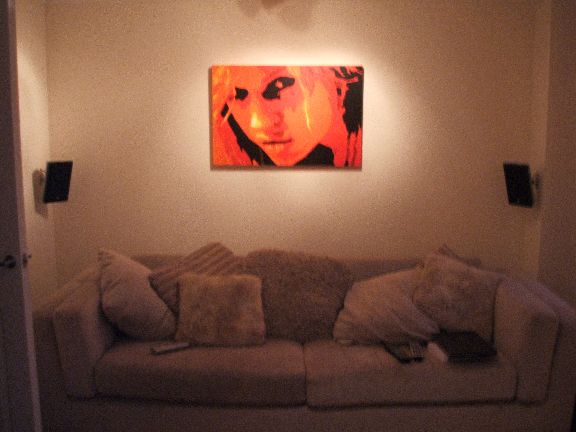
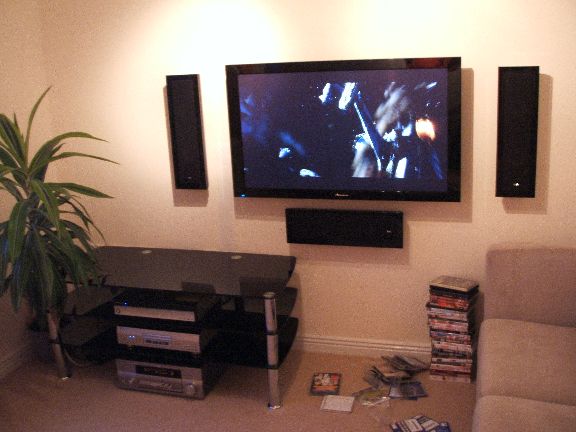
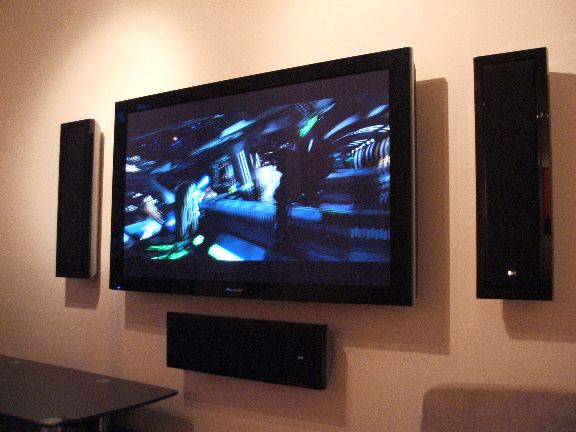
It'll all be worth it in the end.

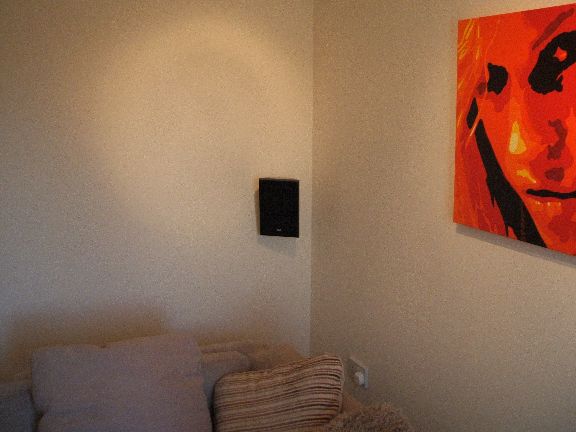
I decided to have the rear speakers at the same centreline as the rest of the setup, this is about 4/5 inches above ear level, contrary to recommendations for home cinema, but it's for SACD and for HC, and it works really well like this. The rear speakers up, felt really really good now!
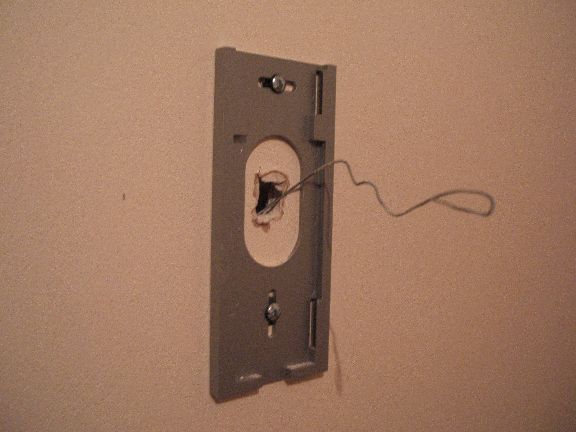
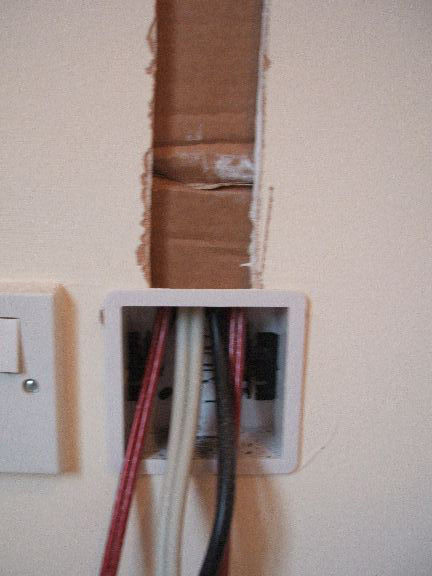
The cables coming through the wall, the white metal mounting plate is from a Coax outlet that B&Q sell, I used that because you can remove the Coax bit and it leaves a nice rectangle.
WAHOOOOOO!!!!

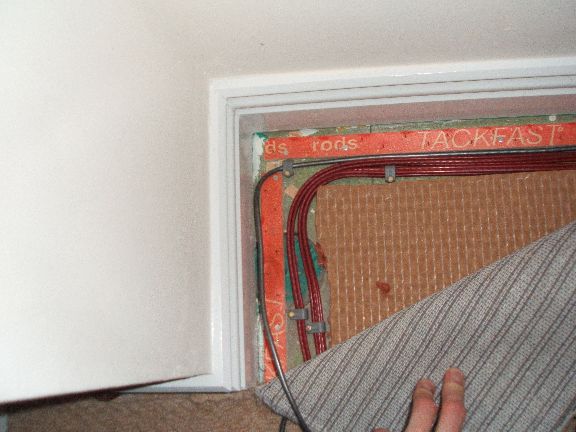
The rear speakers go under the carpet.
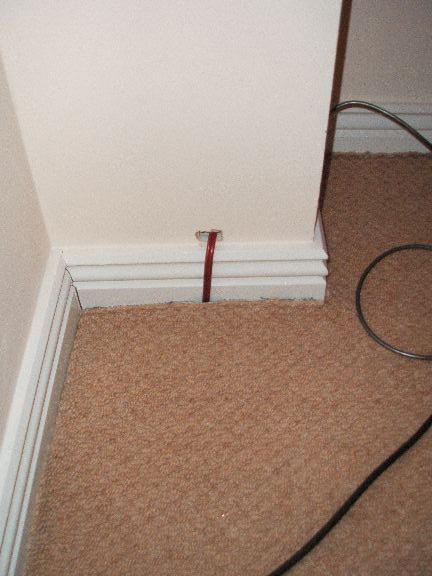
Make sure you chisel out a gap in the tac rail to allow speaker cables through or else the tacs may peirce the cable. I clipped them all down using tower clips. I cut out a gap in the underlay to allow all the cables to go down, this left no lump in the carpet.
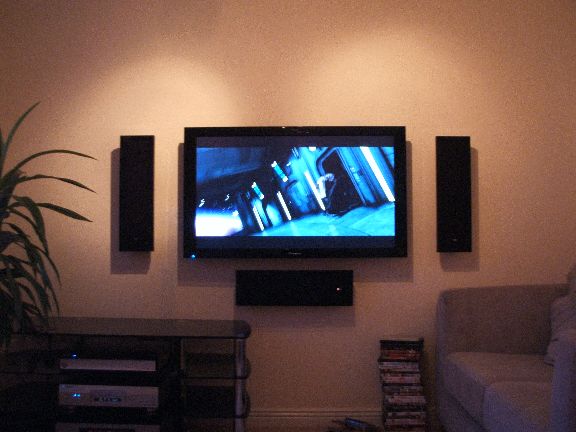
I LOVE it, best money ever spent.
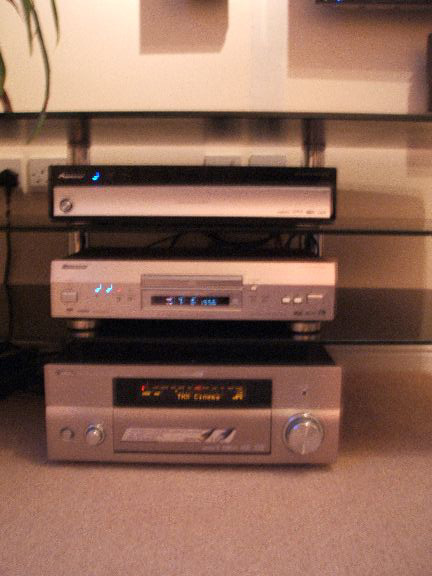
The stack.
Hope this has helped someone, I love the setup, so chuffed, and it's even better knowing that I did it myself. Any questions about it, please ask!
Bix
tvinstall (at) bix (dot) cc
(All photos and text copyright to James Cooksey)